


|
Assembly level: Reference - ReferenceReference-Reference tutorial Page 3 of 4 
Downloads Reference-Reference tutorial files
Animation panel Reference – Reference tutorial.10) Reopen the assembly file or select window activate on the top tool bar if already open. The next step is to copy the references or datum points between the two parts in our assembly.
11) Next, click on the ‘insert’ menu at the top of the screen, select ‘shared data’ and then ‘copy geometry’. This will bring up a dialogue box at the top of the screen and you will be asked to specify what geometry you want to copy. 12) Click on ‘misc refs’ and then ‘define’, select the option ‘dtm point’ is selected, select the four datum points we have just created. Make sure the four datum points appear in the dialogue box before selecting ‘Ok’ and then ‘ok’ again to commit and continue. 13) When this has been completed save the assembly by selecting file save. The geometry has now been copied to the gps_back.prt To check this, right click on gps_back.prt in the model tree and select open. We are now going to use this copied geometry to create a separate range of extrusions for the part gps_back.prt. 14) Using the create new sketch icon and selecting the underside of the top face create a new sketch. 15) When the reference dialogue box appears, use the datum points that you have just copied as references for this sketch by clicking on them. When four datum points appear in the dialogue box select ‘close’. 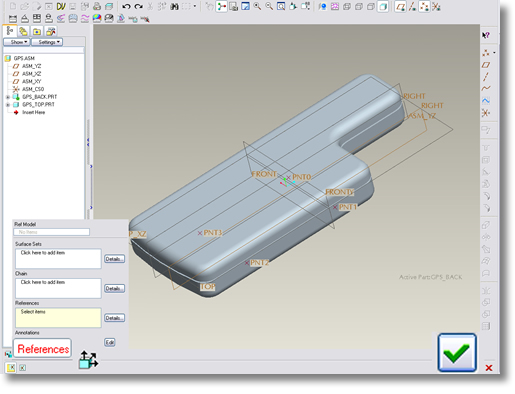
|
 |