


|
Assembly level: Profile - profile
This method involves using a profile or sketch from one part and sharing it so that it can be used in another part as a reference. This is particularly useful in parts that you know will have to be modified, because both sketches will update at the same time.
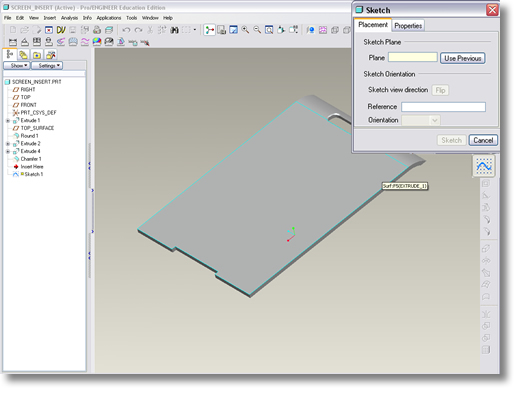
Profile-profile tutorialThis tutorial will show you how to share a sketch or profile between parts. The tutorial will allow you to produce a screen for a mobile phone in such a way that when you alter the shape of the phone casing the screen will automatically update to fit the hole perfectly. Open the assembly file, mobile_phone.asm,. We are going to create a screen to fit the phone that is created in such a way that should the phone chassis alter (i.e. the space for the screen alters) the screen itself automatically updates. 1) Open the part ‘ screen_insert.prt’ 2) Create a new sketch on the top face of the ‘screen_insert.prt’ by selecting the sketch icon and then the top face of ‘screen_insert.prt’. 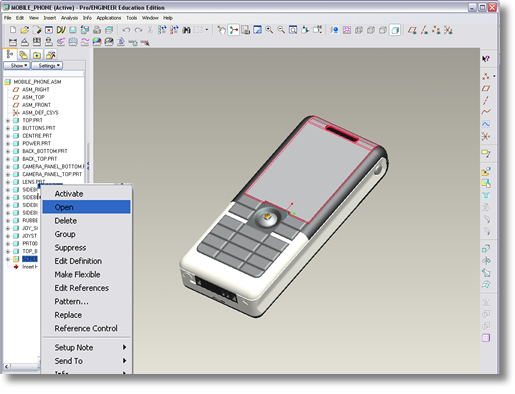
3) Sketch the shape of a screen for your phone, you could use a ‘normal’ shaped screen or a curved screen. When complete finish the sketch by clicking on the ‘tick’ button. 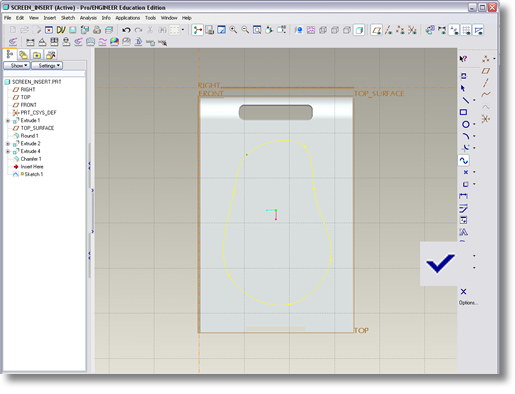
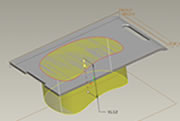
4) Extrude this sketch as a cut by highlighting the sketch so that it appears in red, clicking on the extrude option and specifying remove material. 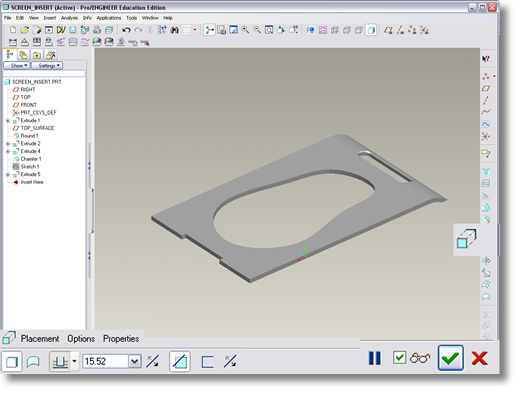
If this fails to work ensure that your sketch is a valid profile 5) Then right click on the sketch you just created in the model and select unhide. 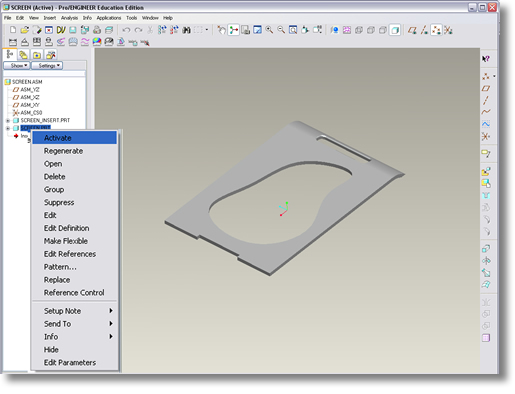
6) Select file save and then exit the part by selecting window close. |
 |