


|
Assembly level: Skeleton modelling17) Right click on the part named mouse_bottom.prt in the model tree and select > open. 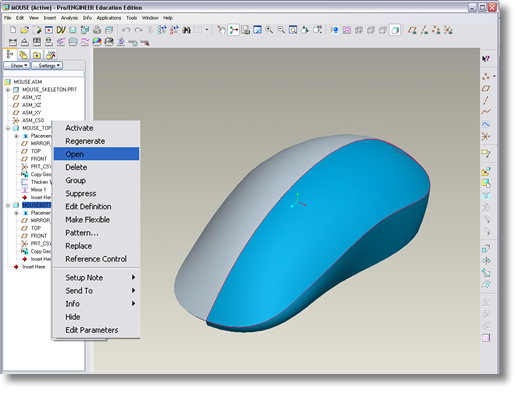
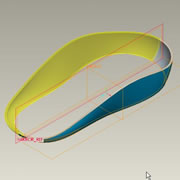
18) Apply a thickness to the surface by selecting the surface and selecting edit > thicken accept the default value as the thickness and click the tick icon to complete 19) Now mirror the entire part by selecting the part name mouse_bottom.prt from the top of model tree and select the mirror icon 20) Use the datum plane MIRROR_REF as the reference about which the features will be mirrored by selecting it from the model tree and complete the operation by clicking on the tick icon. 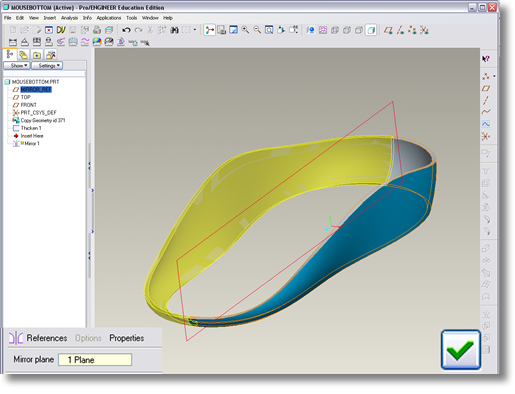
21) Save your changes and exit. 22) Return to the assembly mouse.asm and select ‘edit’ > ‘regenerate’ You have now created a series of parts based on a master or skeleton model. Feel free to continue to add detail to the part files to achieve something that looks like this. 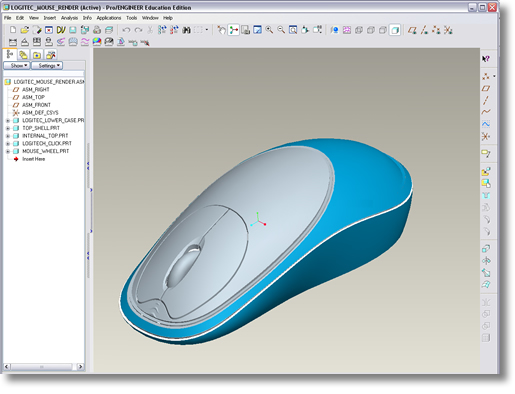
|
 |