


|
Assembly level: Skeleton modellingTop Down TutorialThis tutorial shows you how to use a top down modelling strategy. That is to say the tutorial shows you how to publish and copy geometry from a master or skeleton model so that it can be used as the basis for several other parts
1) Open the file ‘mouse’.asm. 2) Right click on mouse_skeleton.prt in the model tree and select open. 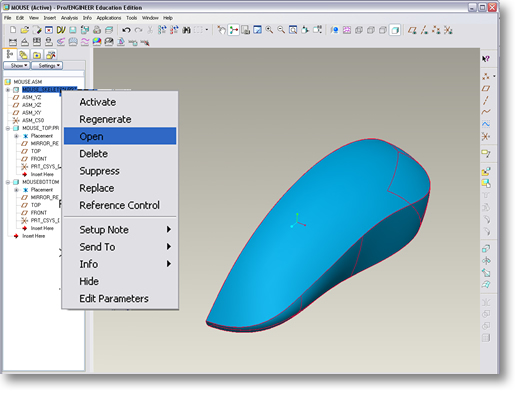
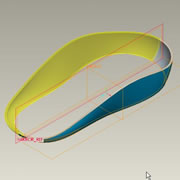
You can see this file simply consist of a two simple surfaces. We are going to use this geometry and copy the surfaces from our skeleton or master model to be used as the basis from which to create the top and bottom halves of a computer mouse casing. 3) Now re-open the assembly file mouse.asm You will notice that despite the skeleton model the other two part files appearing in the model tree appear empty. This is simply because the assembly files and empty part files have been created for you to save you time.
In this instance, 4) Right click on the part called mouse_top.prt in the model tree and select activate. 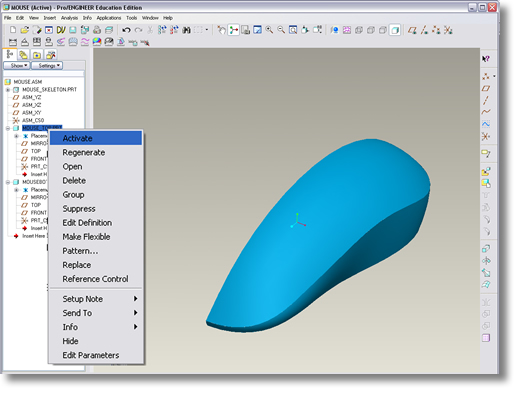 |
 |