


|
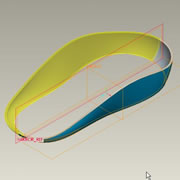
Assembly level: Skeleton modelling5) Select insert > shared data > copy geometry. 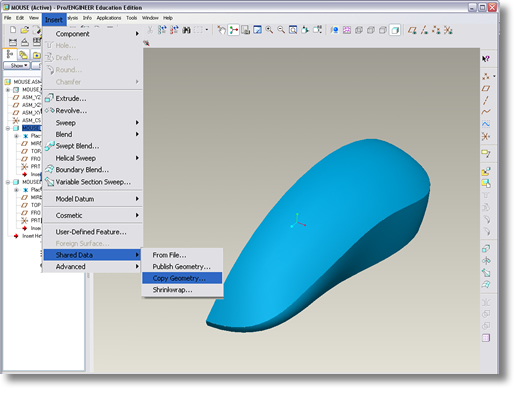
Normally we would previously have published some geometry to be copied however to save you time we are going to perform the operation in a slightly different manner. 6) Uncheck the ‘select published geometry only’ icon. This will allow us to pick any geometry form any model and not just previously published geometry. 7) Now simply pick the bottom surface of the skeleton model and select the tick icon to complete the operation. 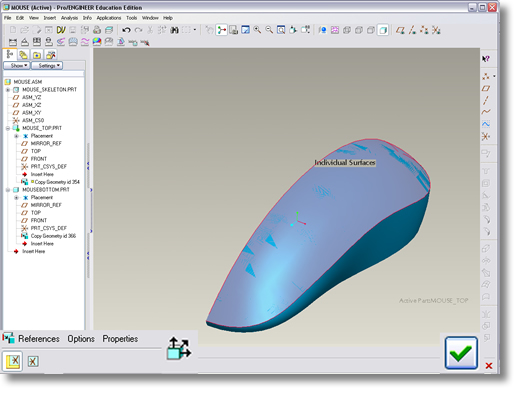
Repeat the process this time activating the mouse_bottom.prt by right clicking and selecting activate. 8) Select ‘insert’ > ‘shared data’ > copy geometry. 9) Remembering to uncheck the ‘select published geometry only icon’, select the top surface set before and then the tick icon to complete the operation. 10) Save your changes |
 |